Setup a Store
A store is an environment for your caching tasks. The best practice is to setup at least a test and production store and to connect these stores to specific instances in those environments.
1. Setup basic store details. Give the store a name, upload a store logo, and give the store a label for the environnment.
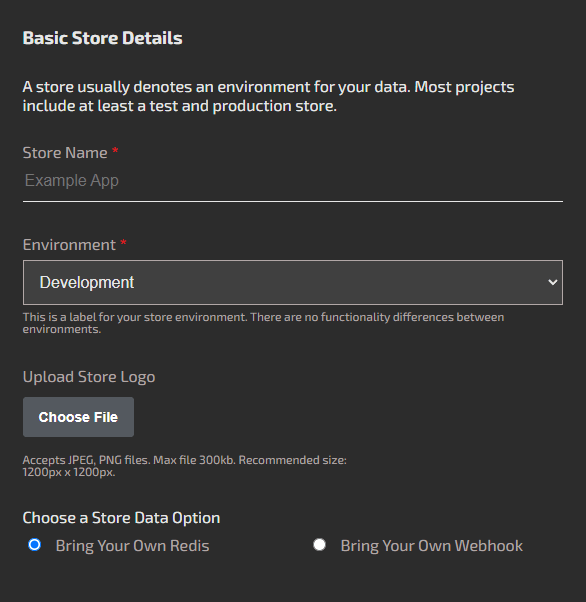
2. Setup a cache type. There are two options:
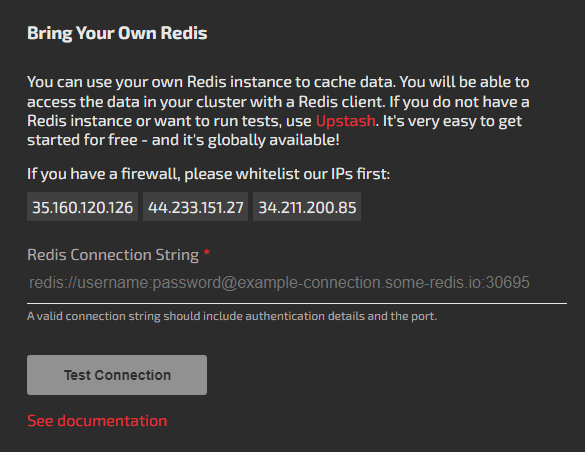
- Bring Your Own Redis: uses a connection string. So the Redis instance needs to be publically available outside of a VPC. We offer IP addresses for white listing. You have total control of the instance. A good option for Redis is Upstash. They provide a connection string and usage-based billing.
- Bring Your Own Webhook: provide an endpoint BadgerCache can hit with cache updates. This is the most flexible option. You can use any database to cache. The webhook payload is a JSON object with a key and value field. You just have to stand it up on the public internet where it can be accessed by BadgerCache servers.
The webhook can be used with any database (Redis, MemCached, Dynamo, ect.) since it's on your server. But because it's just a webhook and we're only sending data to the source, there is no accessing the cached data from BadgerCache from the Edit Cache Key page.
Add Store Users
You can add users from the Store Settings > Users. Permission levels of management users are edit and admin. Editors can do most store functions except store settings. Admins can access store settings. Owners, who setup the billing, have access to everything plus billing. Note that users need to signup for BadgerCache before they are added to the store. There is an option to skip the billing screen to allow the non-owner users to manage their stores. But non-owner users can't add stores or view billing details.
If you need to migrate stores to different owners, you can reach out to support. We have to handle this manually, unfortunately. You can always spin up an new billing account and recreate the stores manually in this situation to avoid waiting.